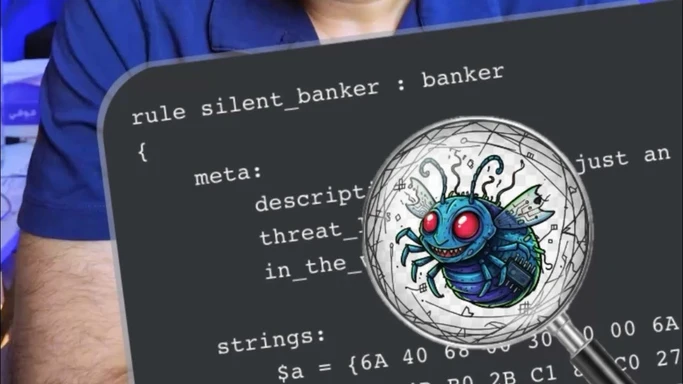
YARA أداة قواعد لخبراء الأمن لاكتشاف البرمجيات الخبيثة الجديدة والمستهدفة بقواعد مخصصة. تكمل مضادات الفيروسات في تحديد التهديدات ومشاركة مؤشرات الاختراق.
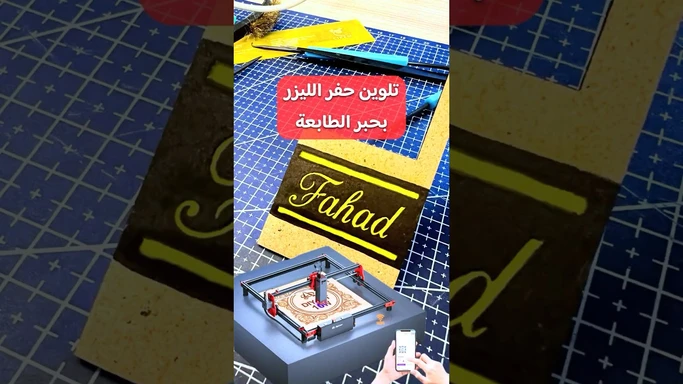
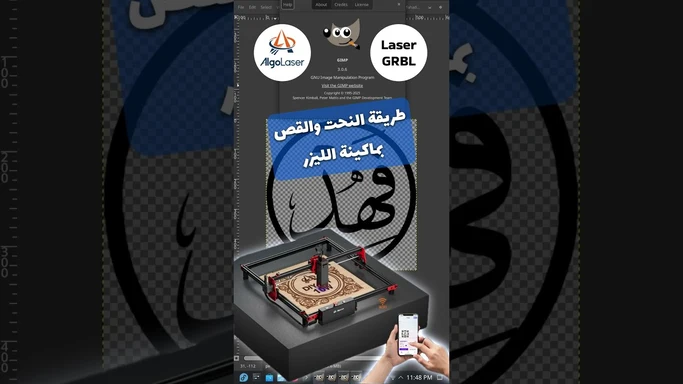
يدور الفيديو حول استخدام الليزر للنحت والقص. للنحت، استخدم برامج الصور التي تتعامل مع الألوان، وللقص، اتبع خطوطًا واضحة. اتبع الخطوات لعمل تصميم متكامل.
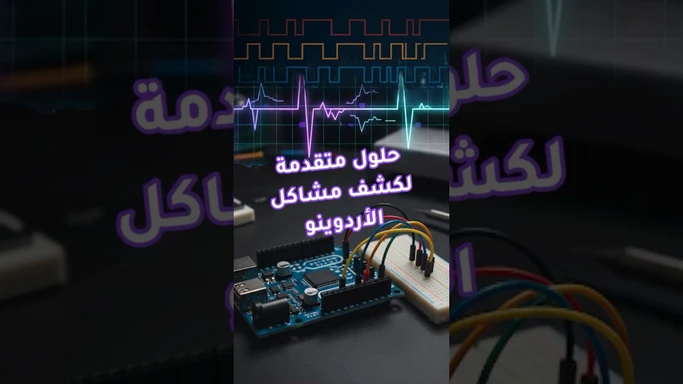
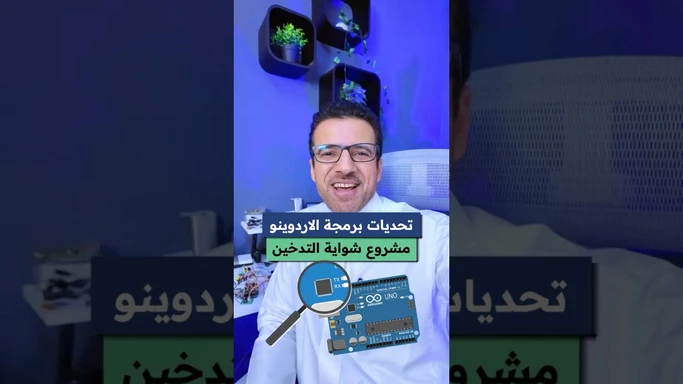
يبرز الفيديو صعوبة تصحيح أخطاء الأردوينو. يقدم حلاً فعالاً بتطوير Logic Analyzer اقتصادي باستخدام أردوينو أونو وجهاز كمبيوتر، مع عرض لقراءة إشارات PWM وتتبع المشاكل.